- Installation of ODE version
- Download cellcompiler zip file (setup-1.0.8_x86.zip) from the download page.
- You can get installer setup-0.4.exe file by unzipping the file.
- Get Visual Studio C++ environment from Microsoft web page. There is free version called express edition in the Visual Studio C++ environment, but you have to create microsoft account to download Visual Studio installer.
http://www.visualstudio.com/downloads/
- Execute setup-0.4.exe to install the system.
- how to use
There are three modes to run CellCompiler ODE version.
- RelML mode:
RelML is a input file to specify from which cell model and numerical scheme the program code will be generated. CellCompiler can read a RelML file and generate simulation program code and display the result of the simulation by running the program. Please refer to the RelML page for its details.
- RelML authoring mode:
Preparing a RelML file requires detailed knowledge about the TecML information. By using this mode, simple RelML file can be generated by providing a CellML file and a TecML file with automatic variable mathing function.
- Parameter Study mode:
If you just want to analyze a model with changing several parameter values, you can use this Parameter Study model. In this panel, specified parameters can be automatically changed from specified value to specified value by adding or multiplying certain constant. In this version, the parameter update equation have to be added to the cell model file, but this will be improved in the next version.
- Visual Basic module generation mode:
- simBio module generation mode:
- ODE version Example usage (Version 1.0.8)
- Start CellCompiler in C:\Program Files (x86)\CellCompiler\CellCompiler.exe
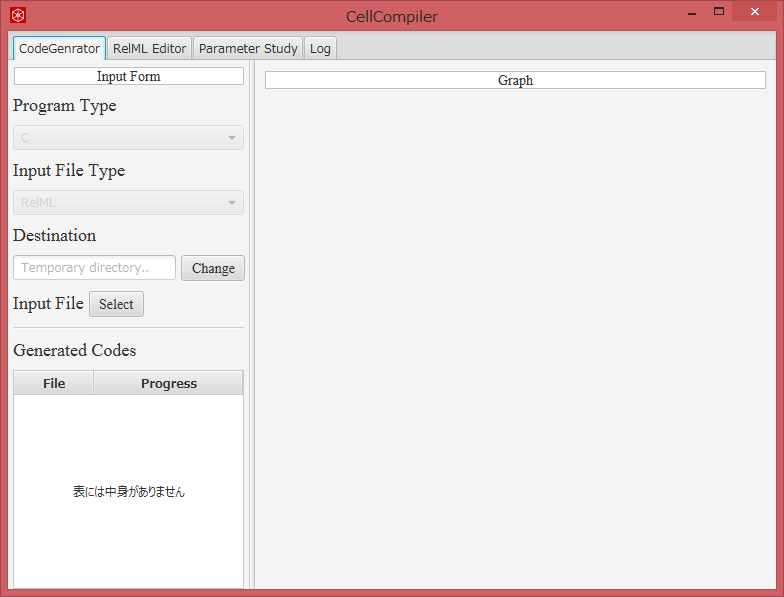
- RelML mode:
- RelML mode runs with “CodeGeneration” tab as follows.
And the following window will appear.
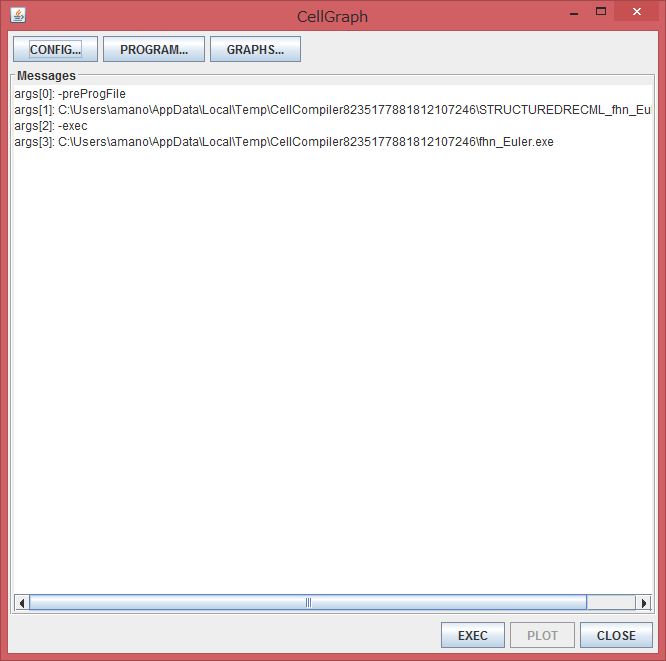
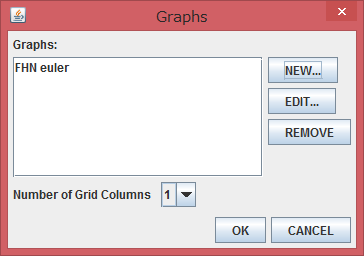
- By selecting “Graphs” button, following window appears.
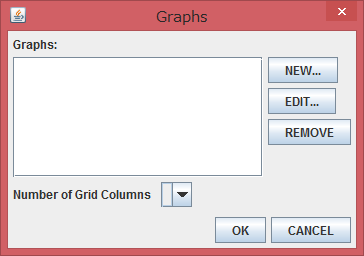
- Click “NEW” to add new graph to the Graph panel.
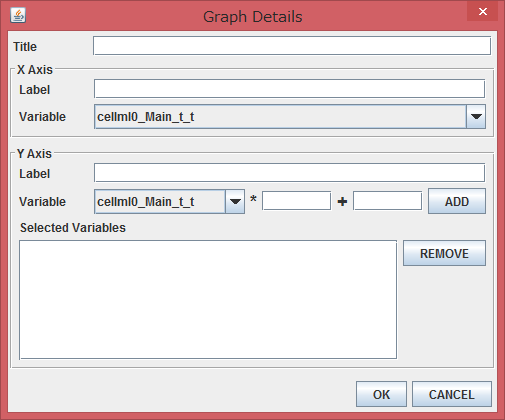
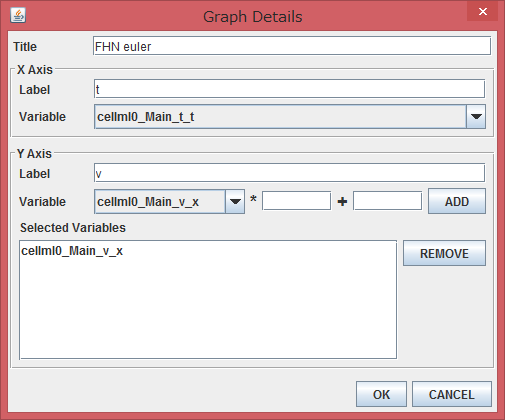
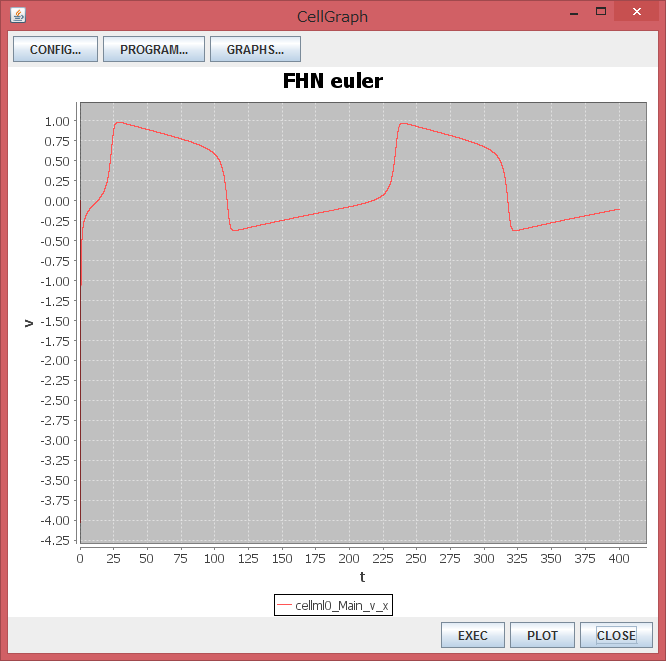
- Insert title in Title entry, x label “t” in the X Axis Label entry, and y label “v” in the Y Axis Label entry. Finally select X variable “cellml0_Main_t_t” and Y variable “cellml0_Main_v_x”.
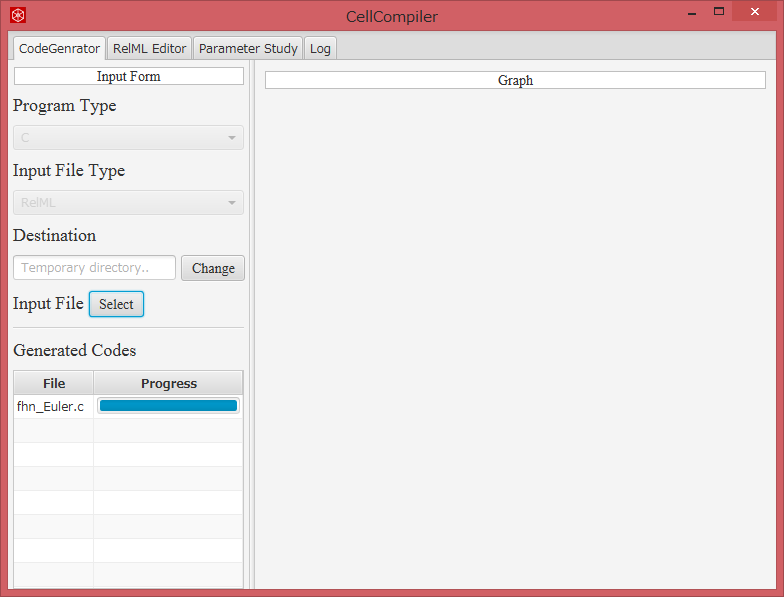
- By clicking “OK” you return to following window.
- Again by clicking “OK”, you return to following window and a graph appears.
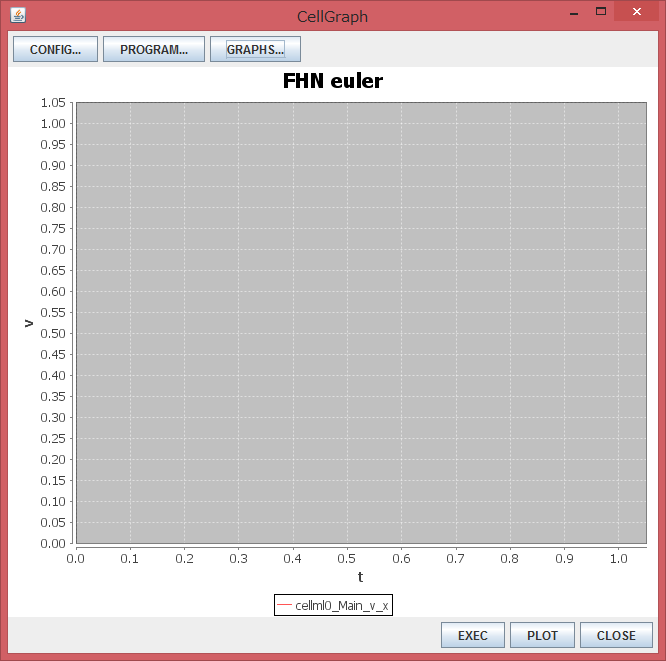
- In this panel, “EXEC” button will start the generated program code which will generate result csv file. By selecting “PLOT” button, the selected variable will appear in the graph panel. If the simulation is slow, the graph will be updated time to time.
- RelML authoring mode:
under construction
- Parameter Study mode:
under construction
- Visual Basic module generation mode:
under construction
- simBio module generation mode:
under construction
